Removable Railing Table
A laptop perch for a deck railing: 2x4 slats over clamping cleats, all from one board.
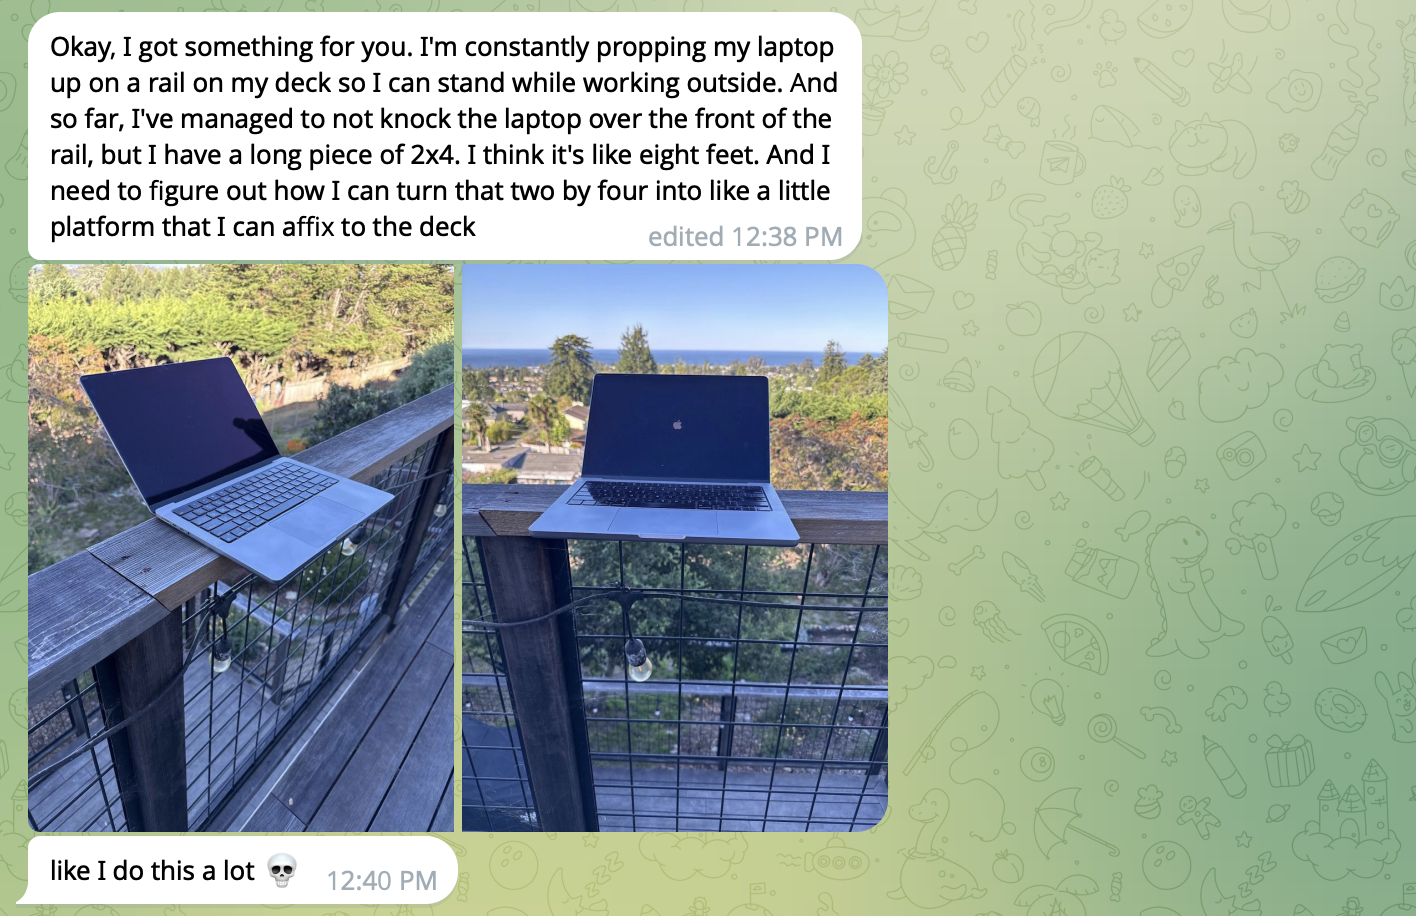
My friend Sean had an idea for this project once he saw I was building this website. He's constantly using a laptop perched on his deck railing in fear of it falling off. Fortunately, his laptop has remained in one piece so far, but a fall is inevitable and we wanted something a little less.. precarious. The catch was he only had a single 2x4 in his garage.
So I came up with a simple, removable railing table that could be built from that single 2x4 and—like everything on this site—the dimensions and plans are fully customizable in real time. As a bonus if your configuration won't fit on a single board you'll see an error. Go ahead, try it for yourself!
An 8-foot 2x4 is 96 inches and that number is the hard constraint. The maximum usable table size for a standard 2x6 railing is about 13x17 inches, perfect for a 16" laptop or 13" laptop with room for a coffee.
How kerf affects cut planning
When trying to maximize use of a single board, it's important to understand , which is the amount of material taken off by the width of the saw blade – usually 1/8 of an inch. So, if we want to cut a 14-inch long piece, we actually need to account for 14-1/8" for every piece, when calculating how much board we have left over in the design.
Designed to be (re)movable
While being easily removable wasn't a hard requirement for this project, it's nice to be able to move a table around when needed. It's also nice to not have to put screws or bolts through your nice railing. And, since we're not applying a finish to this project (you can if you want), it's also easy to keep it out of the rain.
Nothing about this table attaches to the deck. No clamps, brackets, or screws into the railing. Two run underneath the top platform and perform two jobs. (1) They hold the top slats in place and (2) they provide a secure grip against the railing so the table doesn't tip off.
The cleats are screwed on from the bottom of the table, so no visible screw holes affect the usage of the top surface.
Customize and build it
The shopping list below is for the table you see, in the sizes the store actually sells. It comes from the same program as the model, so it can never fall out of date. Set your dimensions and both regenerate together.
Shopping list
Everything this build needs, in the sizes the store sells.
17" width13" depth5½" rail widthadjustdone
More to build
Each one works the way this one does. Read how it was designed, change the numbers to fit your space, and take the list to the store.